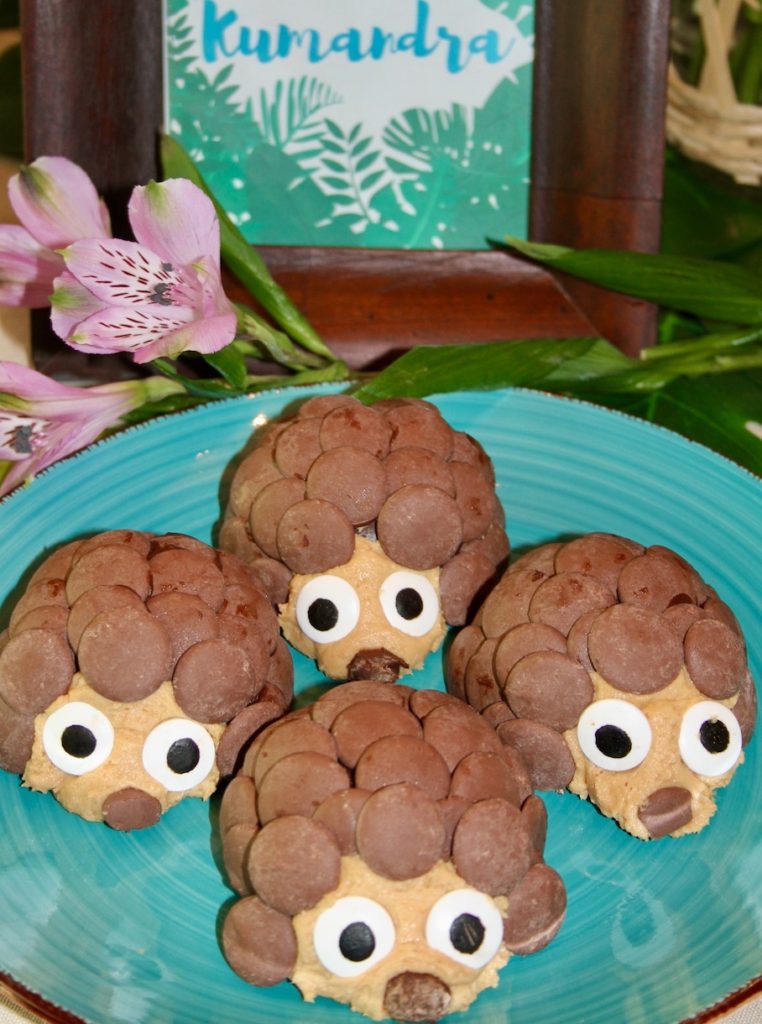
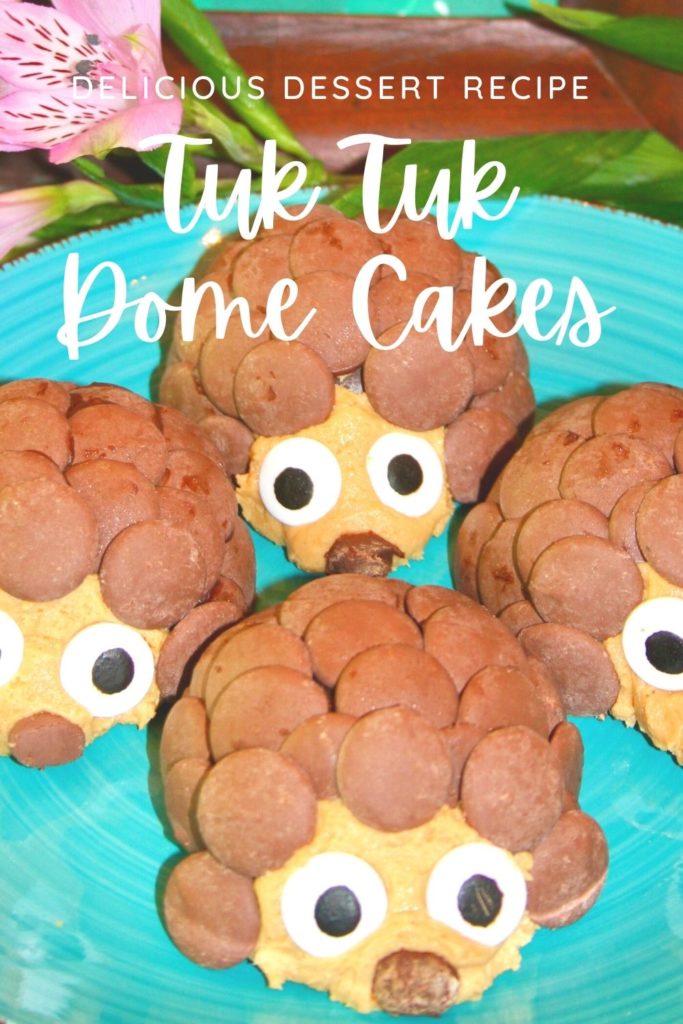
Learn to make adorable & delicious Tuk Tuk Dome Cakes! These mini dome cakes have a crisp chocolate shell filled with peanut butter mousse siting atop a chocolate fudge base. The outside of the shell is covered with chocolate wafer candies and the face is made of peanut butter butter cream. They were inspired by Disney’s Tuk Tuk Dome Cakes and were featured on our Raya and the Last Dragon Dinner.
Makes six 3-inch Dome Cakes
Ingredients
Cake Bases
- 1/4 cup (½ stick) unsalted butter, softened to room temperature
- 1/4 cup water
- 2 ½ teaspoons cocoa
- 1/2 cup all-purpose flour
- 1/2 cups granulated sugar
- 1/8 teaspoon salt
- 1/2 egg, beaten
- 2 tablespoons buttermilk
- 1/4 teaspoon baking soda
- 1/4 teaspoon pure vanilla extract
Peanut Butter Buttercream
- ½ cup unsalted butter, softened to room temperature
- ½ cup creamy peanut butter
- 1 ½ cups confectioner’s sugar
- ½ teaspoon pure vanilla extract
- ¼ teaspoon salt
- 1 tablespoon heavy cream
Peanut Butter Mousse
- ½ cup heavy cream
- 4 ounces cream cheese, softened to room temperature
- ½ cup confectioner’s sugar
- ½ teaspoon pure vanilla extract
- ¼ cup creamy peanut butter
- Salt to taste
Decorations
Equipment
- Dome Cake Pan
- Cupcake Pan
- Piping Bag & Large Round Tip
Instructions
- Make cake base batter – Mix flour, granulated sugar, baking soda, and salt together in a medium bowl. Meanwhile, in a medium saucepan combine cubed unsalted butter with water and cocoa. Stirring constantly, heat mixture until it reaches a boil. Remove from heat. Add chocolate mixture to flour mixture and mix well using a hand mixer or stand mixer with a paddle attachment. Slowly add egg, buttermilk, and vanilla mixing well.
2. Bake cake bases – Prepare muffin tin with 6 cupcake papers. Put approximately 3 tablespoons of batter in each cupcake paper or about ⅔ full. Bake for 20-25 minutes or until a toothpick inserted into the center of the cupcake comes out clean. Remove from the oven and cool on a cooling rack.
3. Make peanut butter mousse filling – In the bowl of a stand mixer fitted with the whisk attachment add the heavy whipping cream and beat on medium-high speed until soft peaks form. Transfer to another bowl. Next, beat the cream cheese on medium speed until creamy. Add confectioner’s sugar, vanilla, and peanut butter and beat until combined and creamy. Using a rubber spatula, carefully fold in the whipped cream you made earlier. Add a pinch of salt if desired. Transfer the mousse to a piping bag fitted with a large round tip. We like the Wilton 1A tip for this project.
4. Make peanut butter buttercream – Combine butter and peanut butter in the bowl of a stand mixer and beat until creamy on medium speed. Gradually add confectioner’s sugar until well combined. Stir in vanilla extract and salt. With the mixer on low speed, add cream until well-combined. Transfer the buttercream to a piping bag fitted with a large round tip. The Wilton 1A tip works well for this project as well.
5. Make dome cake shells – Melt ½ cup of candy melts according to package directions. Reserve the remaining melts for Tuk Tuk’s shell. Using a silicone basting brush, brush a thin layer of candy coating on the inside of each dome cake mold. Allow to dry completely. Add another layer and allow to dry. Repeat until you have a ¼” thick layer.
6. Assemble dome cakes – Prepare a piping bag fitted with a large tip with the mousse. Fill the candy domes with mousse leaving approximately 1 inch unfilled. Trim cooled cupcakes so they are 1-inch thick rounds and flat on both sides. Gently fit a cake base onto the top of the mousse. Invert the cakes onto a tray or cutting board.
7. Add scales – Melt ¼ cup of candy melts according to package directions. Using a silicone basting brush, paint melted candy coating onto the flat side of an unmelted candy melt wafer. Place it at the back base of the dome cake. Continue this process of adding wafers to the dome cake. Overlap the wafers slightly to give the look of scales. Continue until approximately ¾ of the dome cake is covered in scales. The uncovered portion should be about 2 inches wide and it will become Tuk Tuk’s face.
8. Add face – Using a piping bag fitted with the Wilton 1a tip and filled with the peanut butter buttercream, carefully pipe Tuk Tuk’s face onto the cake. Let the buttercream spread out on the uncovered portion of the dome cake. While still piping, gently bring the bag away from the cake to create his nose. Lightly smooth out the frosting. Mold a small amount of frosting into a nose. Add two sugar eyes and the nose to Tuk Tuk’s face.
Aren’t these just so cute! They were also quite tasty, especially if you’re a fan of chocolate and peanut butter!
For more inspiration check out our
Pinterest boards.
Please be sure to follow us on Facebook, Instagram, and Pinterest.


